
If you are in an industry that takes a lot of photographs, you can use modern pages to manage them.
Create a new site collection using a SharePoint Groups site, call it Photos, or Photo Albums, or whatever you like.
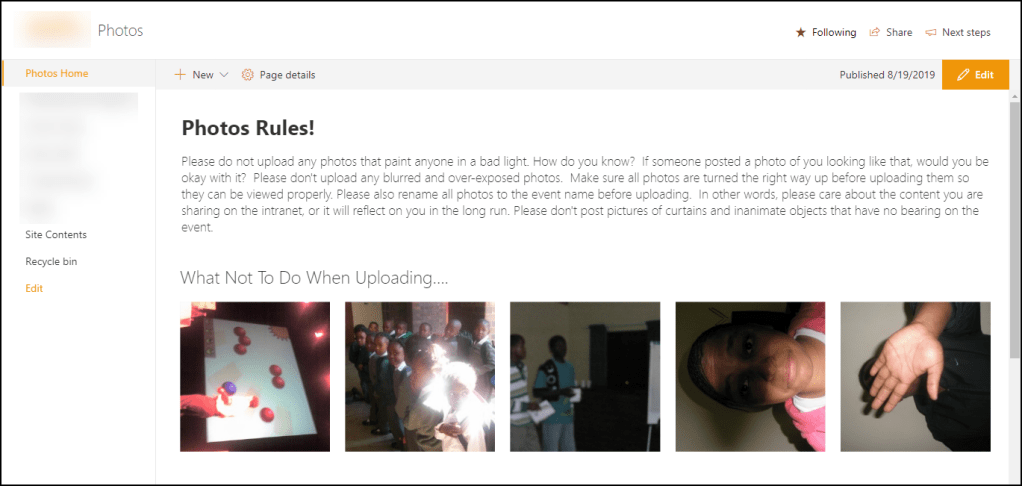
Put the rules on the home page.
Go to the Site Pages library on the site and add the columns you need to classify your photos, in this case, we have events per year and category.

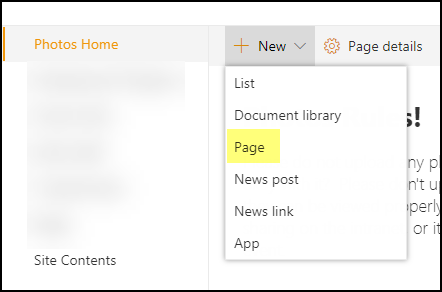
Go back to the Home Page and create a new Page – create a page for each year, category or event type you have. Do not tag these pages with the metadata you added, leave them blank.
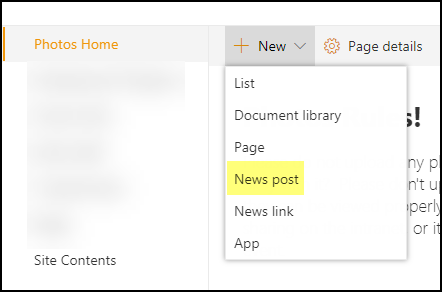
Then you will start creating a News Post per album you want to share. The reason we are going to use a News Post and not another Page, is so that once all your historical photos have been uploaded, you can add the News webpart to the home page, and publish future events through there, as well as send news digests of specific albums to specific audiences. TIP : If you want the albums to display in the right date order in the news webpart, create them in reverse order, ie: oldest albums first.
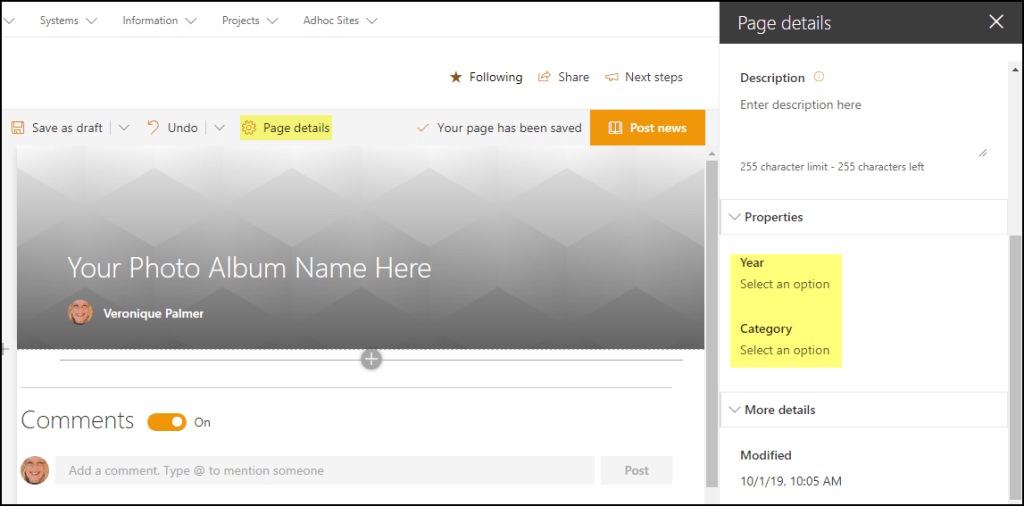
When you create the News Post, click on Page Details and fill in the metadata of the event.
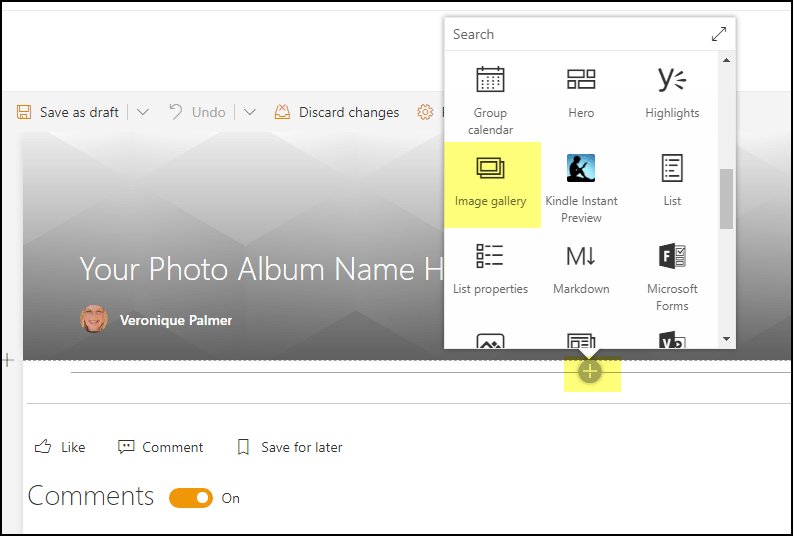
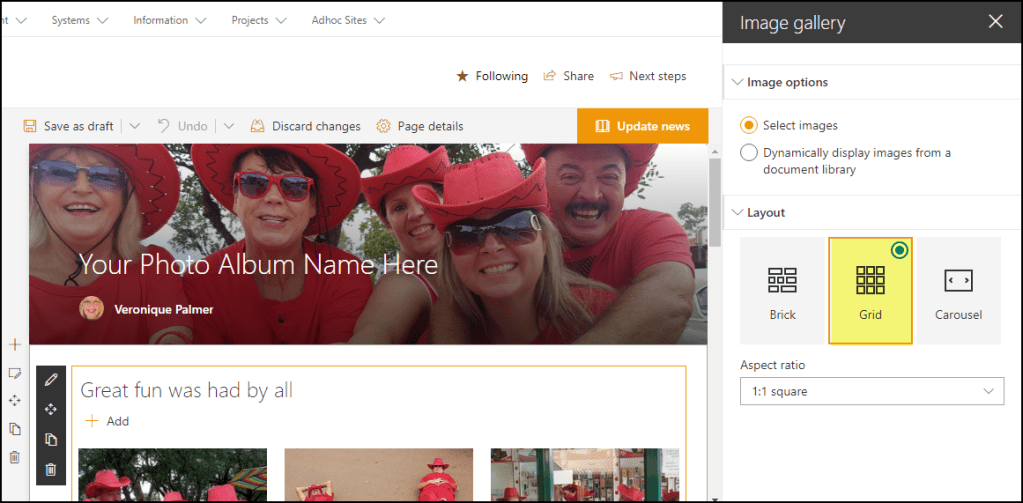
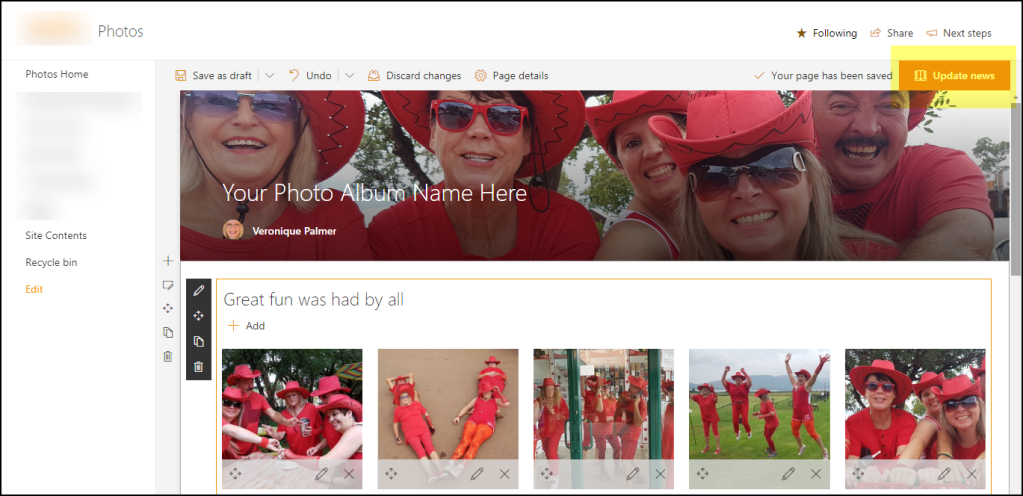
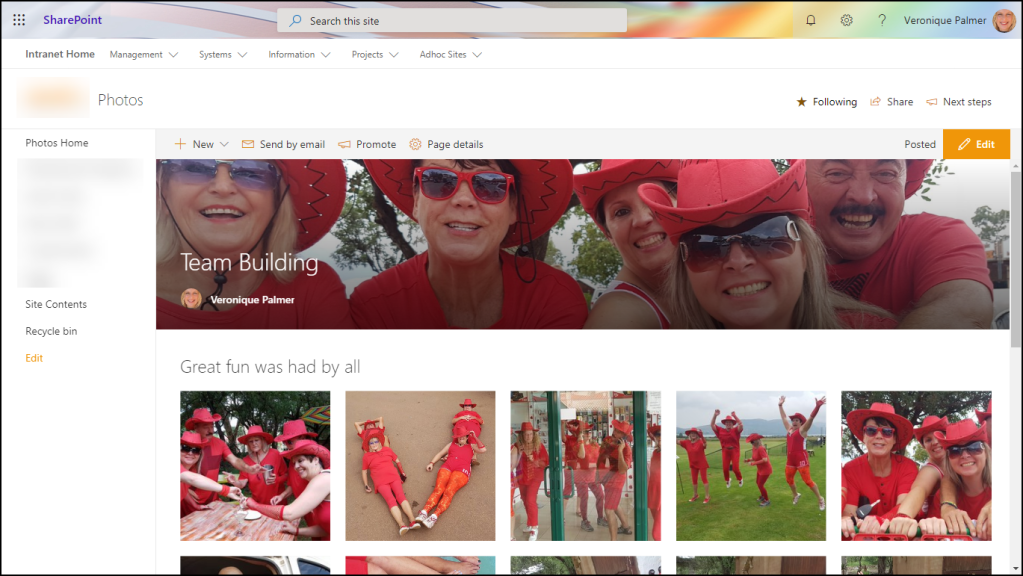
Then edit your page, insert a header image from the album and add the Image Gallery webpart to the page. Add the photos and republish the page. TIP : Rename all the photos to the event name before you upload them, DSC42454 doesn’t mean anything to anybody.
Edit the webpart and select the Grid layout if you want the photos all uniform.
Then Update the News post.
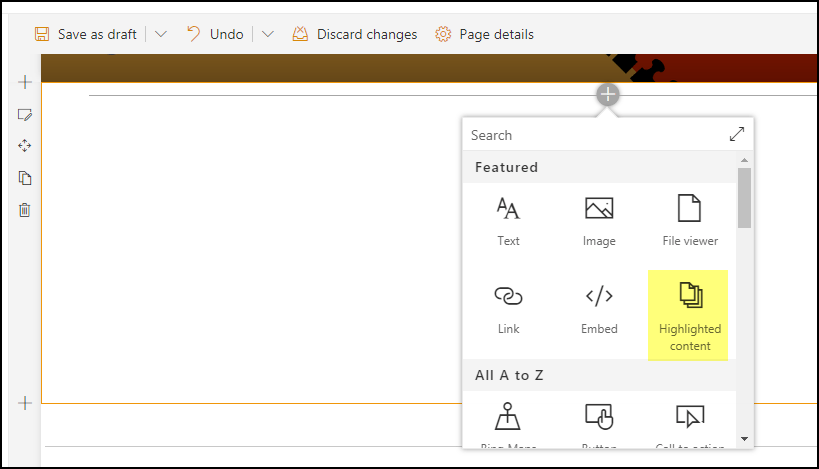
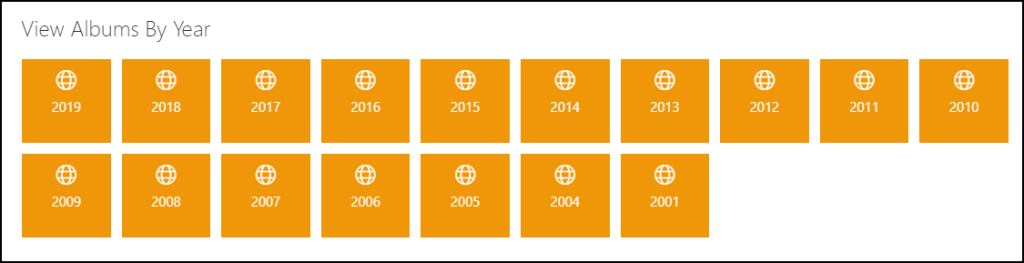
Then on your category page, in this case, 2019, edit the page and add the Highlighted Content webpart.
Edit the webpart and point the Source to the Pages library, then Filter on Page Properties and select the property you want displayed on this page.
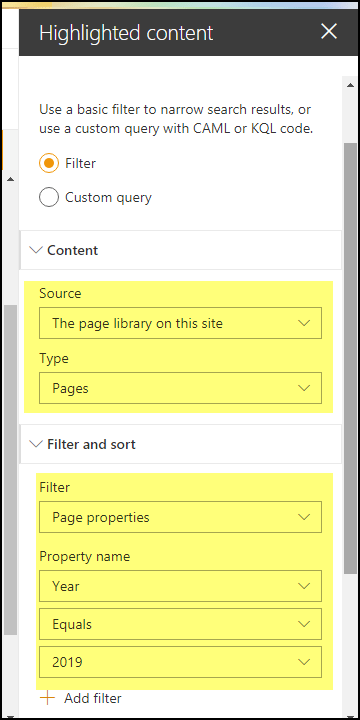
Republish the page and voila! All the albums for that category are on the page.

Click on each one to see the images. You can add text to the top of any of these to give more info if necessary.
Then use the Quick Links webpart to display the albums by the categories you have created.
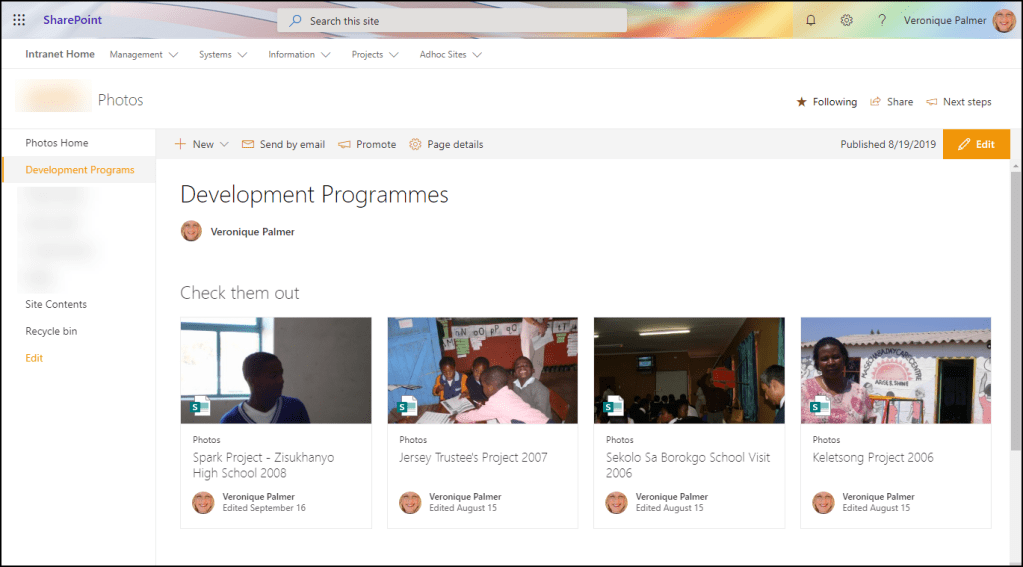
You can skip the header image on category pages too if you like to give more focus to the albums in it.
And that’s that. This would work for all social events, site visits, conferences, building photos, insurance claims photos, etc etc.
The only thing to keep an eye on is space. Don’t let the site collection get above 200GB. Rather create separate site collections if you have tens of thousands of photos, then use a hub site to connect them.
You don’t need to worry about the 5000 item threshold, because it stores all the photos in folders under Site Assets.
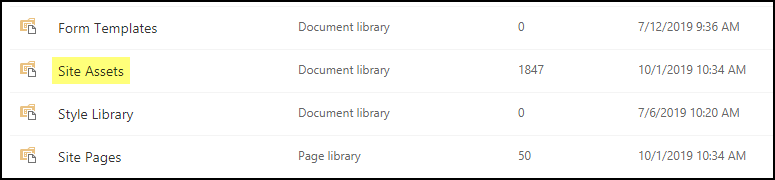
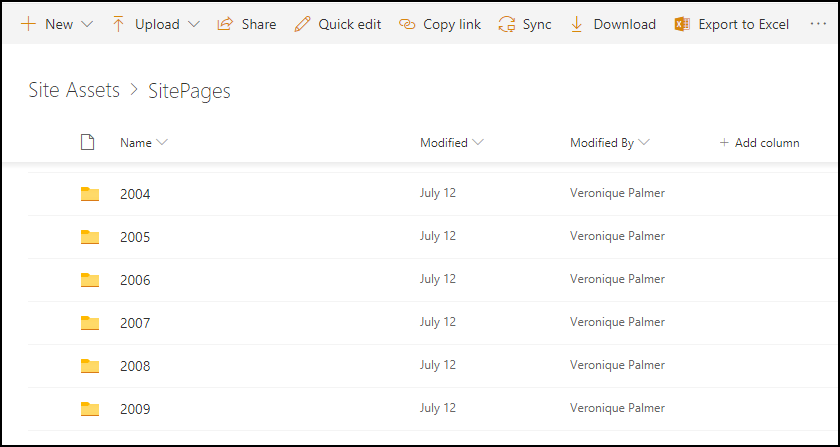

Hi Mandy – yes that’s right. You add them via the image gallery and they are stored in folders in the Site Assets library by default.
LikeLike
Thank you, to clarify, we dont upload photos to document/picture libraries.
We create a News post and then upload them to the webpart Image Gallery
Update the Page properties and share?
LikeLike