
Ah the cloud, full of interesting “quirks”. Something as simple as not allowing people to edit documents should just work seamlessly when they have read only access. But it doesn’t work seamlessly in reality.
It’s a common scenario that we need people to be able to download templates, save the completed documents somewhere else, and not change the original template. In SharePoint Online, all documents open in the browser by default, regardless of the setting to make it not do that; which also lets people change the document – even when they have read rights. Another issue is that people can also edit the headers and footers and change Director details, which is a big no no. So here’s how we get around all that.
“Locking” Headers and Footers
Get your template and double click in the header or footer, make sure there’ no red lines under text for spelling issues. Add those words to the dictionary if there are any. Then use Snip Tool / Snip and Sketch Tool copy the text you see.

Save that image, call it Letterhead Footer 2020-08 for example so you can keep track of versions.

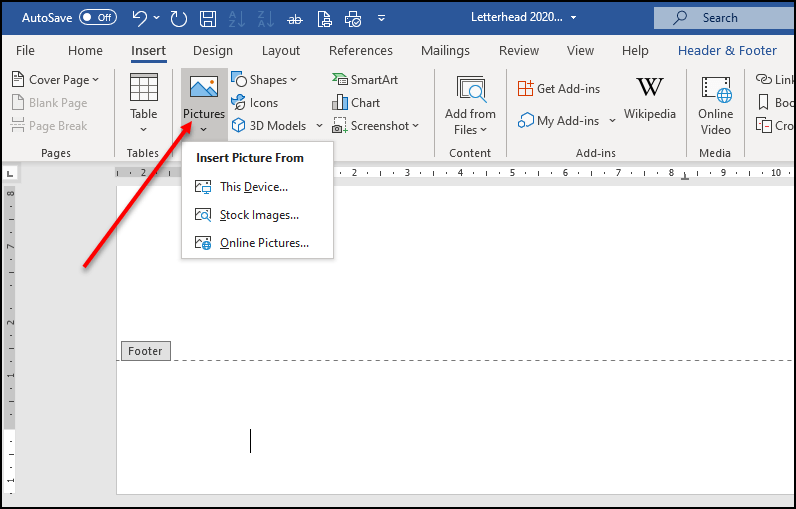
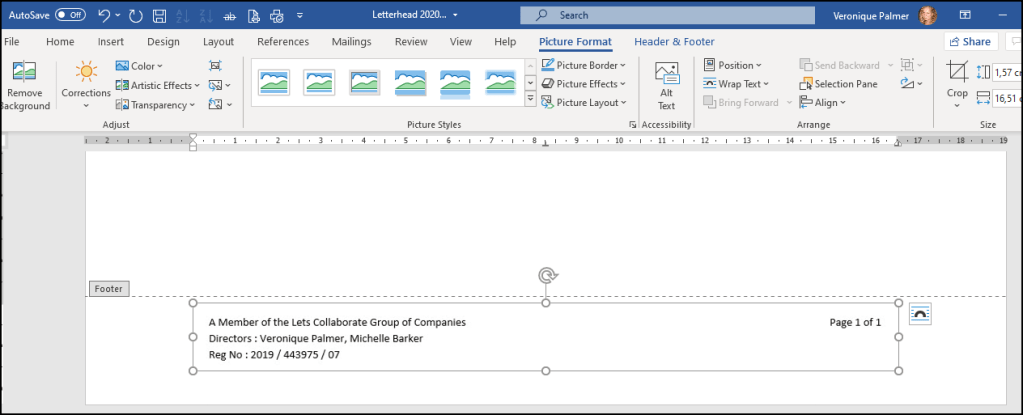
Then delete all the footer / header text and insert the image you just snipped.
Now close the footer / header and it’s officially “locked”. People can’t edit an image, (well, not easily anyway. And if they are going to those lengths to do that, you have an HR problem, not a document management problem).
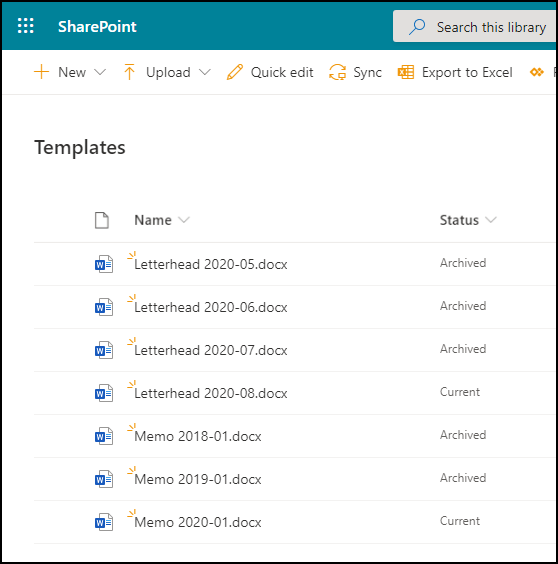
Save all templates with the year and month if you change them regularly, and also so that people know which version they have once they’ve been downloaded. Don’t forget to send out a communication to all staff for them to delete whatever old version they have and only use the new version when they change.


On to SharePoint. Create a templates library and make it read only access for all staff and contribute rights for those responsible for templates. Add a column for status if you need to keep old versions for auditing purposes. Don’t put this library on the Quick Launch or any other navigation.
Open a new tab in your browser and create a new page called Templates and use the Quick Links web part to add an icon for each template you have.

Go back to your templates library and check this cool trick. Click F12 on your keyboard to open the Developer Tools, (do not mess around in here!!!). Go to the Network tab (1) and make sure the red button is on and recording. Now click the … next to your template and “download”, (2). You’ll see it makes a red text entry in the developer tools window. Then click “Stop Recording” which you do by clicking the red button, (3).
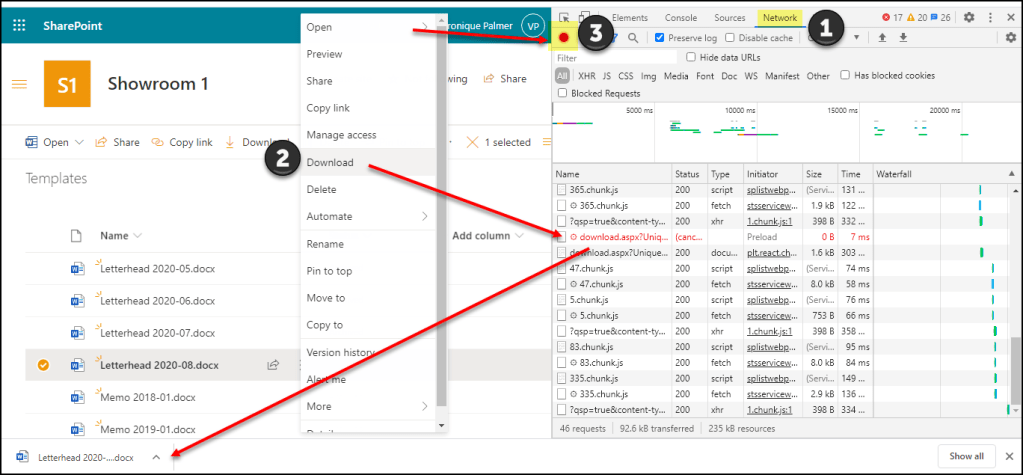
Then you right-click on the red text, go to Copy on the menu and select Copy Link Address.

Now go back to your templates page and add a link to a Quick Link and paste that link in.

Do the same for all the templates then save the page.

Then when you click on the icon, it will download the template. Easy peasy.

Each time your template changes, you need to go the F12 route to get the new link, don’t forget to update your templates page icon so that only the current templates are being seen by staff. Put the templates page link somewhere obvious in the navigation or on your page to make it easy to find.
Your templates are now managed. 🙂
Thank you to Brian Fulghum for telling us about the F12 thing. 🙂 You rock!

[…] Letterhead and Template Management in SharePoint Online […]
LikeLike