
It’s common practice to make headings on your top link bar with links under it, to create dropdown menus on your intranet. These links sometimes wrap, but it’s super easy to fix.

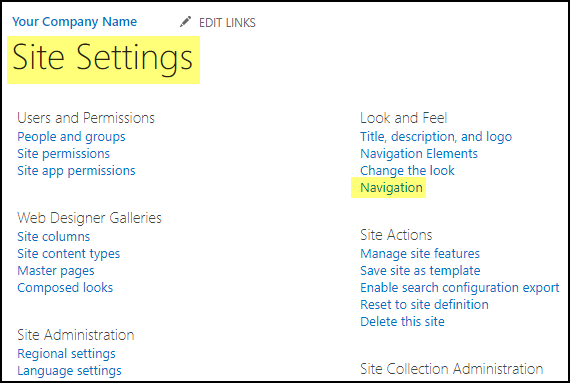
You need to have Publishing Features activated to get the option under Site Settings called Navigation. Otherwise all you will see is this.

So go to Site Settings – Site Collection Features and activate it first. (If you are doing this in SharePoint Online, you might get an error. Just ignore it, and keep trying. It will activate on the second or third attempt).

Once it’s on, you will see Navigation. This is a far more comprehensive way of managing your links on your site.
You can decide which top menu you want to display.
You can decide what to do about the Quick Launch – although we never play with these settings. Leave the defaults. Inheriting Quick Launch menus just causes endless drama and confusion.

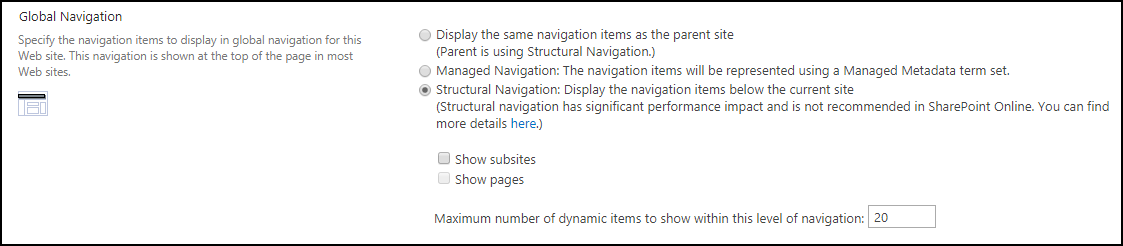
The bottom bit is where you make magic happen. First choose either Global or Current Navigation. Global is the Top Link Bar at the top of the page. Current Navigation is the Quick Launch to the left of the page. To make dropdown menus, add headings, then click on the headings and add links under them. You can make links open in new windows as well as audience target them – in other words, only people in a specific group will see those links. You can move items up, down, under; edit or delete them.

So when your menus wrap, it’s because the heading text is too short for the links under it. Simply edit the headings and make the text longer.

Or if you are at a loss for words, just add good old characters.

You can also put special characters in front of each link to make them stand out more if you like. It’s easier to read when you have a lot of links.

Problem solved. 🙂 No code involved.
